


Anethum graveolens
Dill - microgreens seeds
✨Feathery microgreen version of dill herb – aromatic and delicate, a quick way to add gourmet flair and flavor.
- Regular price
-
26,00 zł - Regular price
-
- Sale price
-
26,00 zł
Couldn't load pickup availability
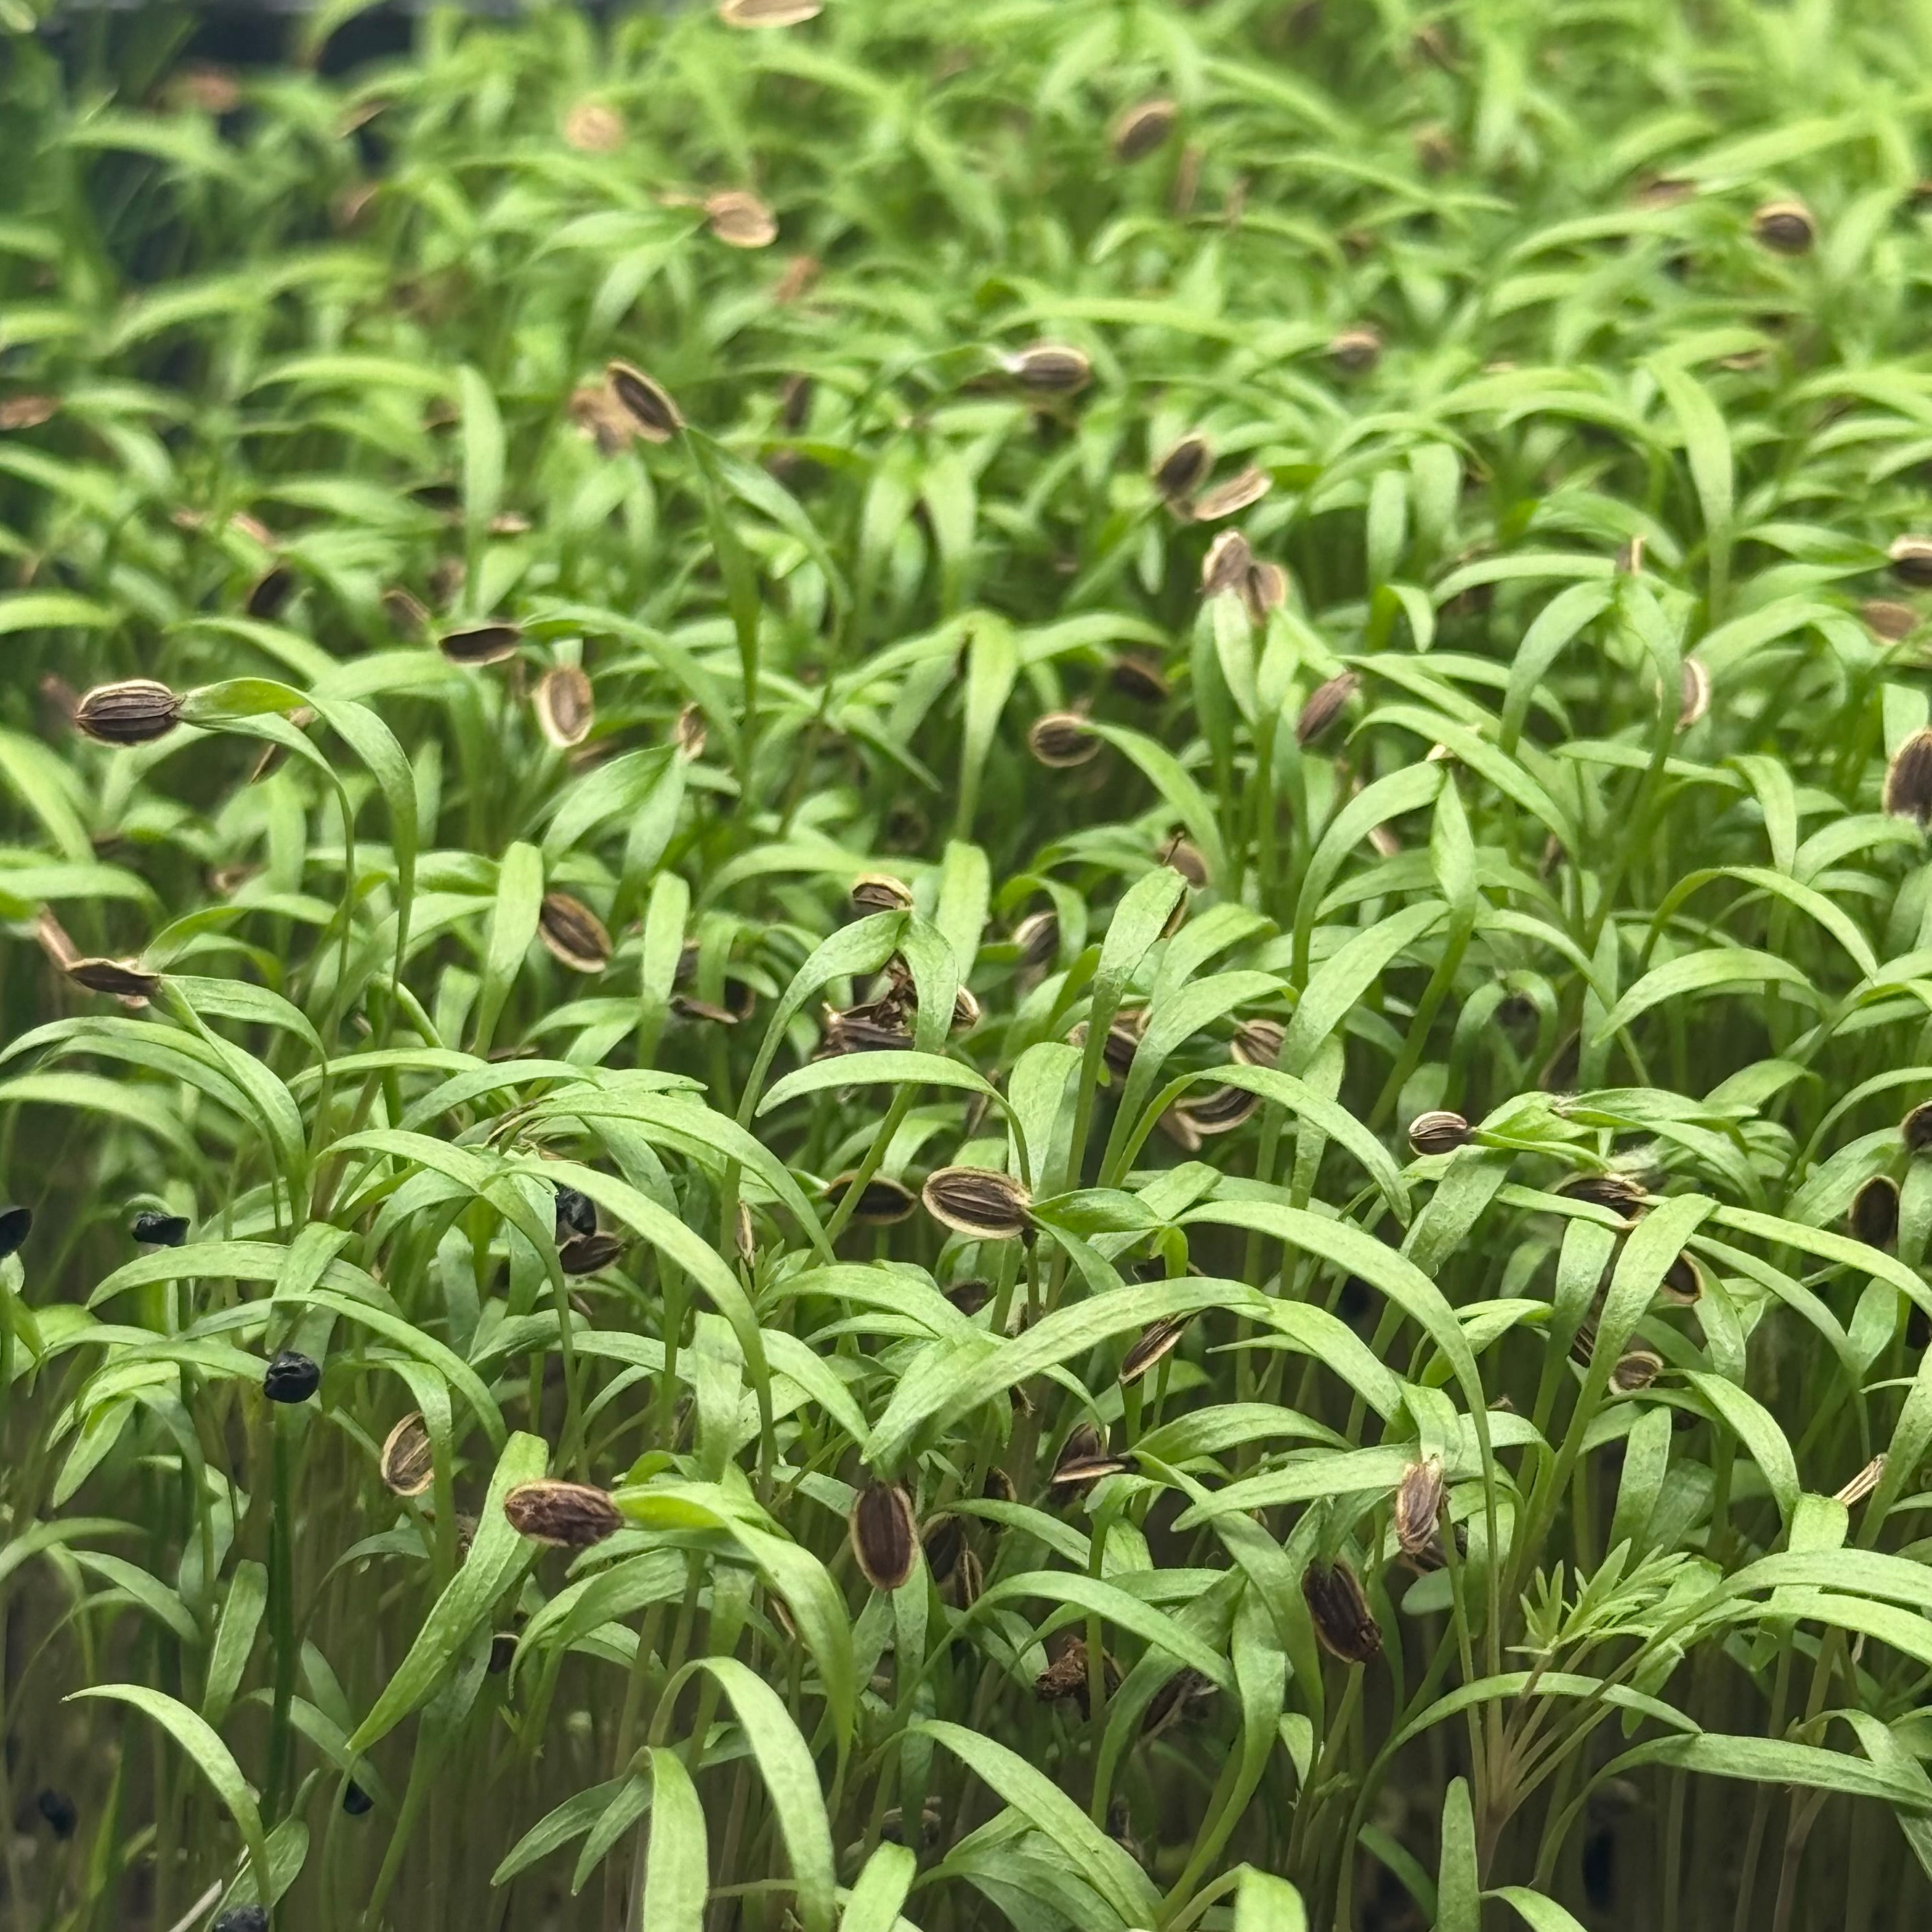
Harvest the scent of a summer kitchen — feathery dill microgreens ready in just two weeks.
100% satisfaction guarantee
Your satisfaction is our top priority.
If something's not right, we’ll make it right — whether that means replacing your item or giving you a full refund. No fuss, no hassle.
SHIPPING INFORMATION
Shipping cost is based on weight and destination. Just add products to your cart and use the Shipping Calculator to see the shipping price.

Details
Harvest the scent of a summer kitchen — feathery dill microgreens ready in just two weeks.
FULL SPECIFICATION TABLE
General Specification
| Common Name | Dill microgreens |
| Botanical Name | Anethum graveolens |
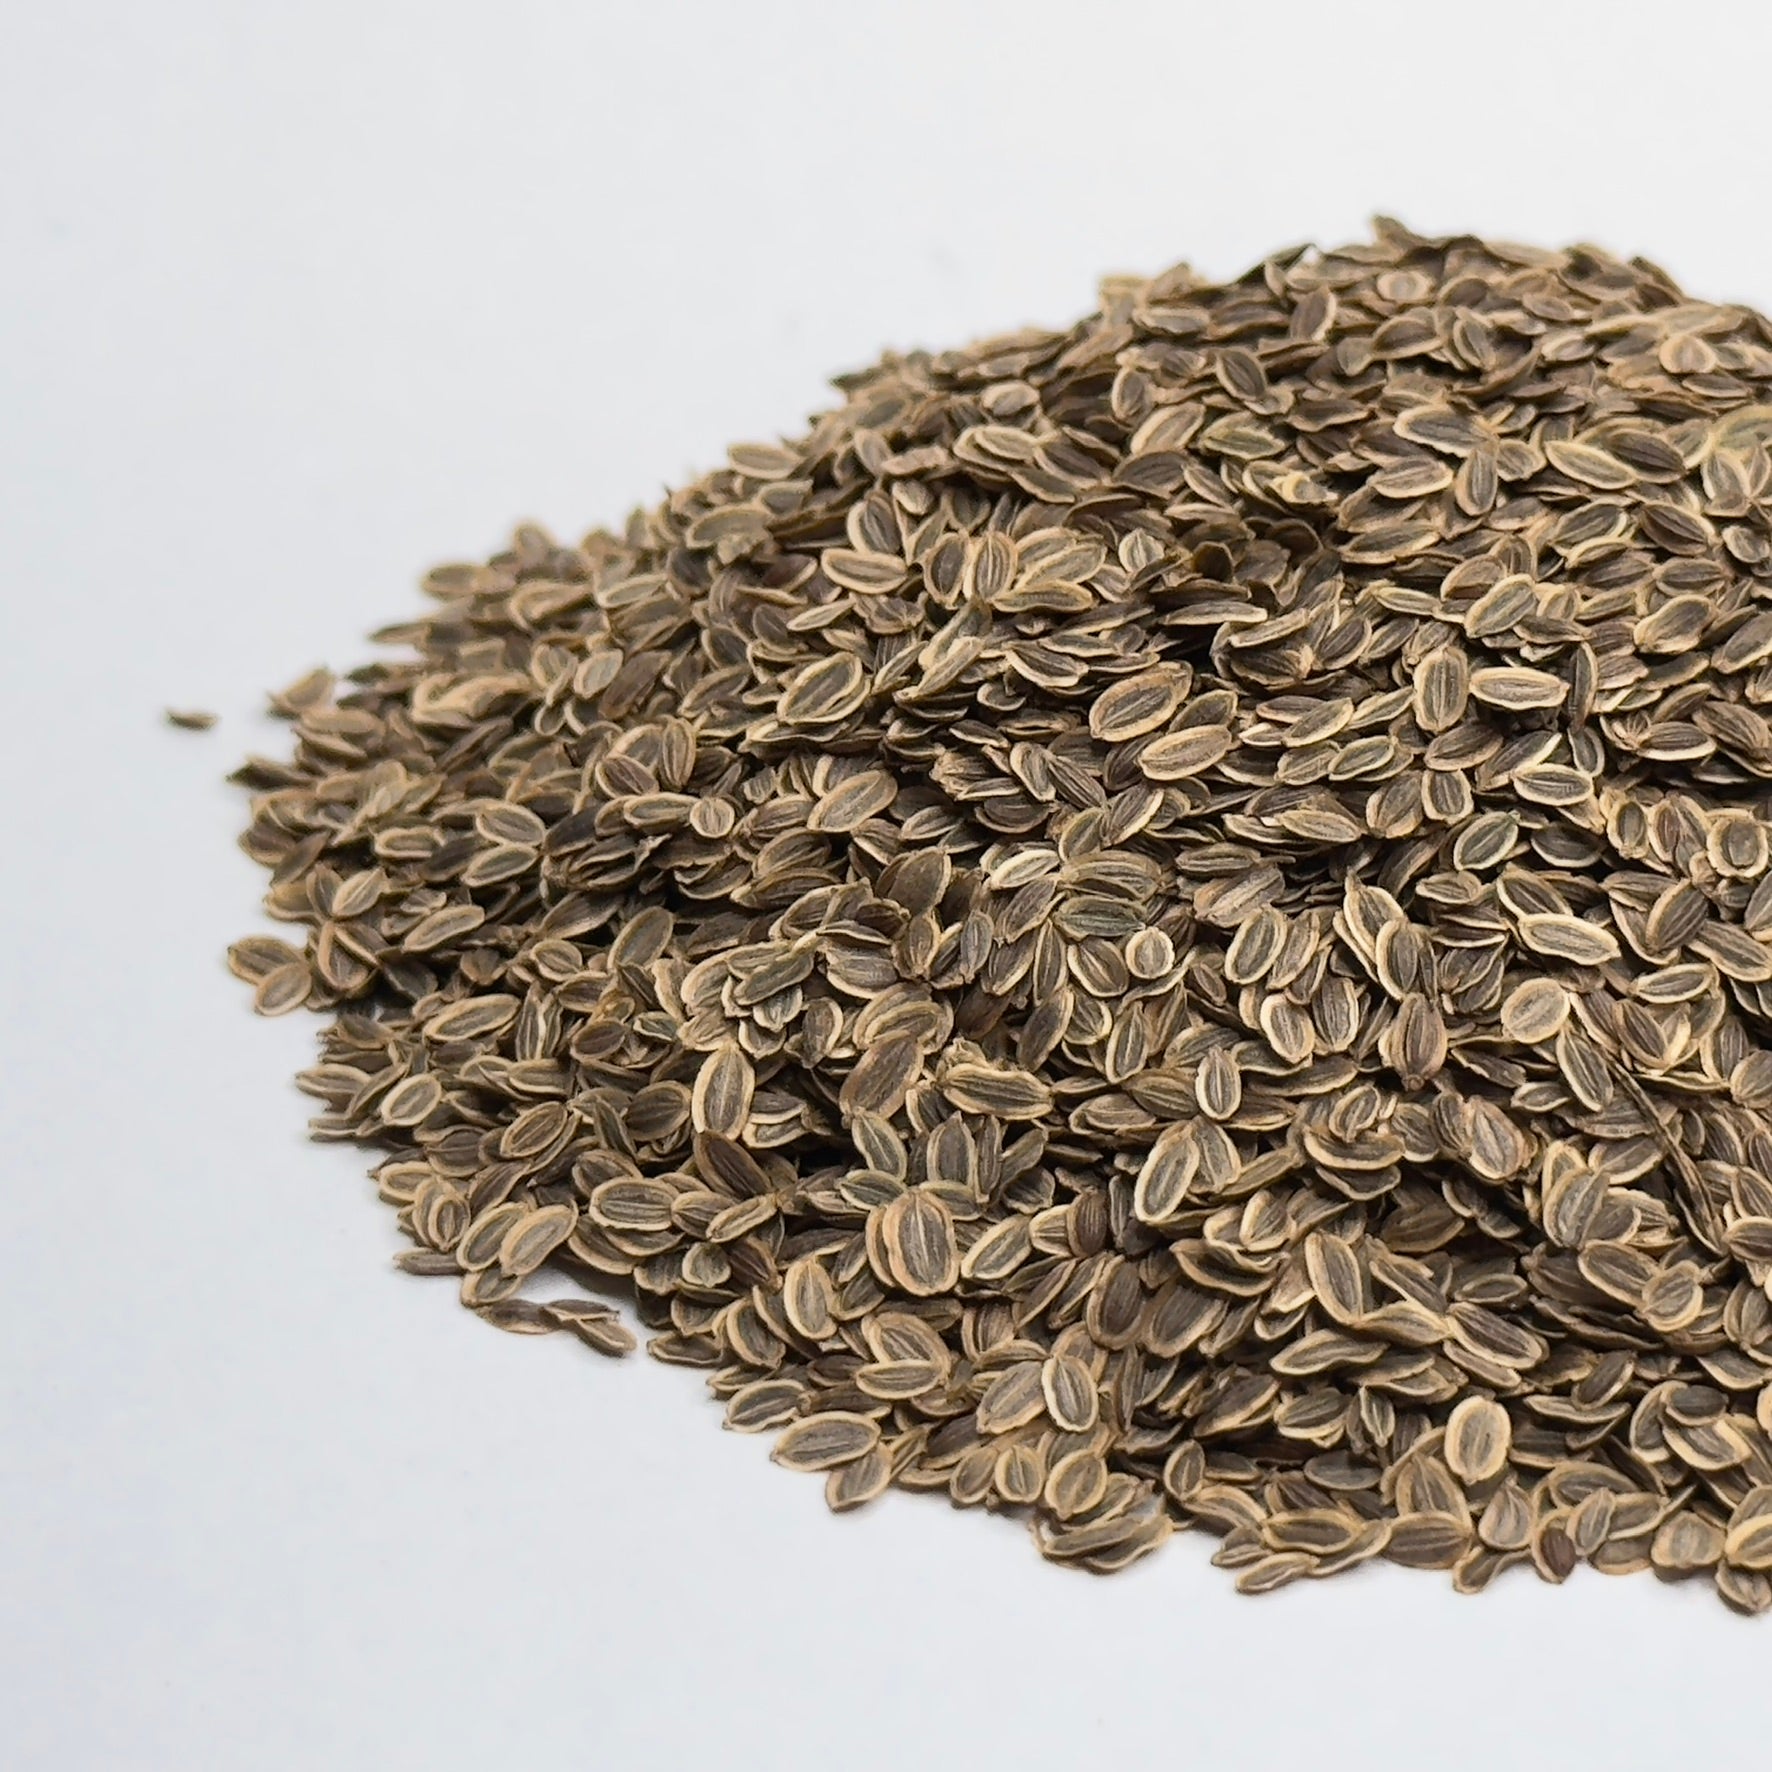
| Seed Type | Conventional, untreated, non-GMO |
| Stem/Leaf Color | Fine, feathery light green leaves; slender pale green stems |
| Flavor & Texture | Classic dill aroma with citrus-anise notes; soft, delicate texture |
| Seed Count per 10g | ~6,000–7,000 seeds (≈600–700/g) |
Cultivation Data
| Difficulty | Medium |
| Preferred Medium | Soil (potting mix); consistent moisture; gentle airflow essential |
| Seeding Density (1020 tray) | 8g per 1020 tray (25×50cm) |
| Seeding Density (10x10 cm) | 0.62g per 10×10cm |
| Expected Yield | ≈120–180g per 1020 tray (at first true leaf stage) |
| Soaking | Optional: 4–5 hours in cool water; skip in warm conditions or if humidity is high |
| Blackout Days | 3–4 days (some sources recommend up to 5 days; 4 days is a reliable midpoint) |
| Watering, pH & Temp | Bottom water; pH 6.0–6.5; 18–22 °C growing temperature |
| Sprouting Time | 6–7 days |
| Harvest Time | 14–16 days |
Health & Nutrition
| Vitamins | Vitamin A (beta-carotene precursors), vitamin B2 (riboflavin), B3 (niacin), B9 (folate), vitamin C, vitamin E, vitamin K |
| Minerals | Calcium, iron, magnesium, manganese, phosphorus, potassium, zinc |
| Notable Compounds | Essential oils (carvone, limonene), flavonoids, chlorophyll, amino acids |
| Health Benefits | Vitamins C and K support immune function and normal blood clotting; vitamin A precursors support vision and cell growth; carminative aromatic oils (carvone, limonene) may support digestive comfort; antioxidant flavonoids help protect cells from oxidative stress |
ABOUT
Dill microgreens are the concentrated soul of a herb that has graced kitchens for over three thousand years — and at the microgreen stage, that character arrives in just two weeks. The tiny fronds unfurl in a cloud of pale, feathery green, releasing that unmistakable scent the moment you brush them: fresh, citrusy, faintly anise-like, with a clean herbal bite that is both brighter and more delicate than the mature plant. A small pinch scattered over warm smoked salmon, a soft-boiled egg, or a bowl of vichyssoise transforms the dish instantly, adding visual elegance as well as flavour. If you love cooking with dill but hate watching a bunch go limp in the fridge, growing your own microgreens means a living supply on the counter, cut fresh the moment you need it.
GROWING INSTRUCTIONS
Why Choose Deliseeds?
-
Untreated & Non-GMO, Conventional or Organic Safe, high-germination seeds. We also offer wide selection of certified organic seeds.
-
Fast EU Shipping
Orders dispatched within 24h. Delivery times 1-5 working days.
-
100% Satisfaction Guarantee
If you're not satisfied - you'll get a replacement or a refund.
-
Expert Support
We mean it! You get our personnal support to help you succeed.