


Lepidium sativum
Cress - microgreens seeds
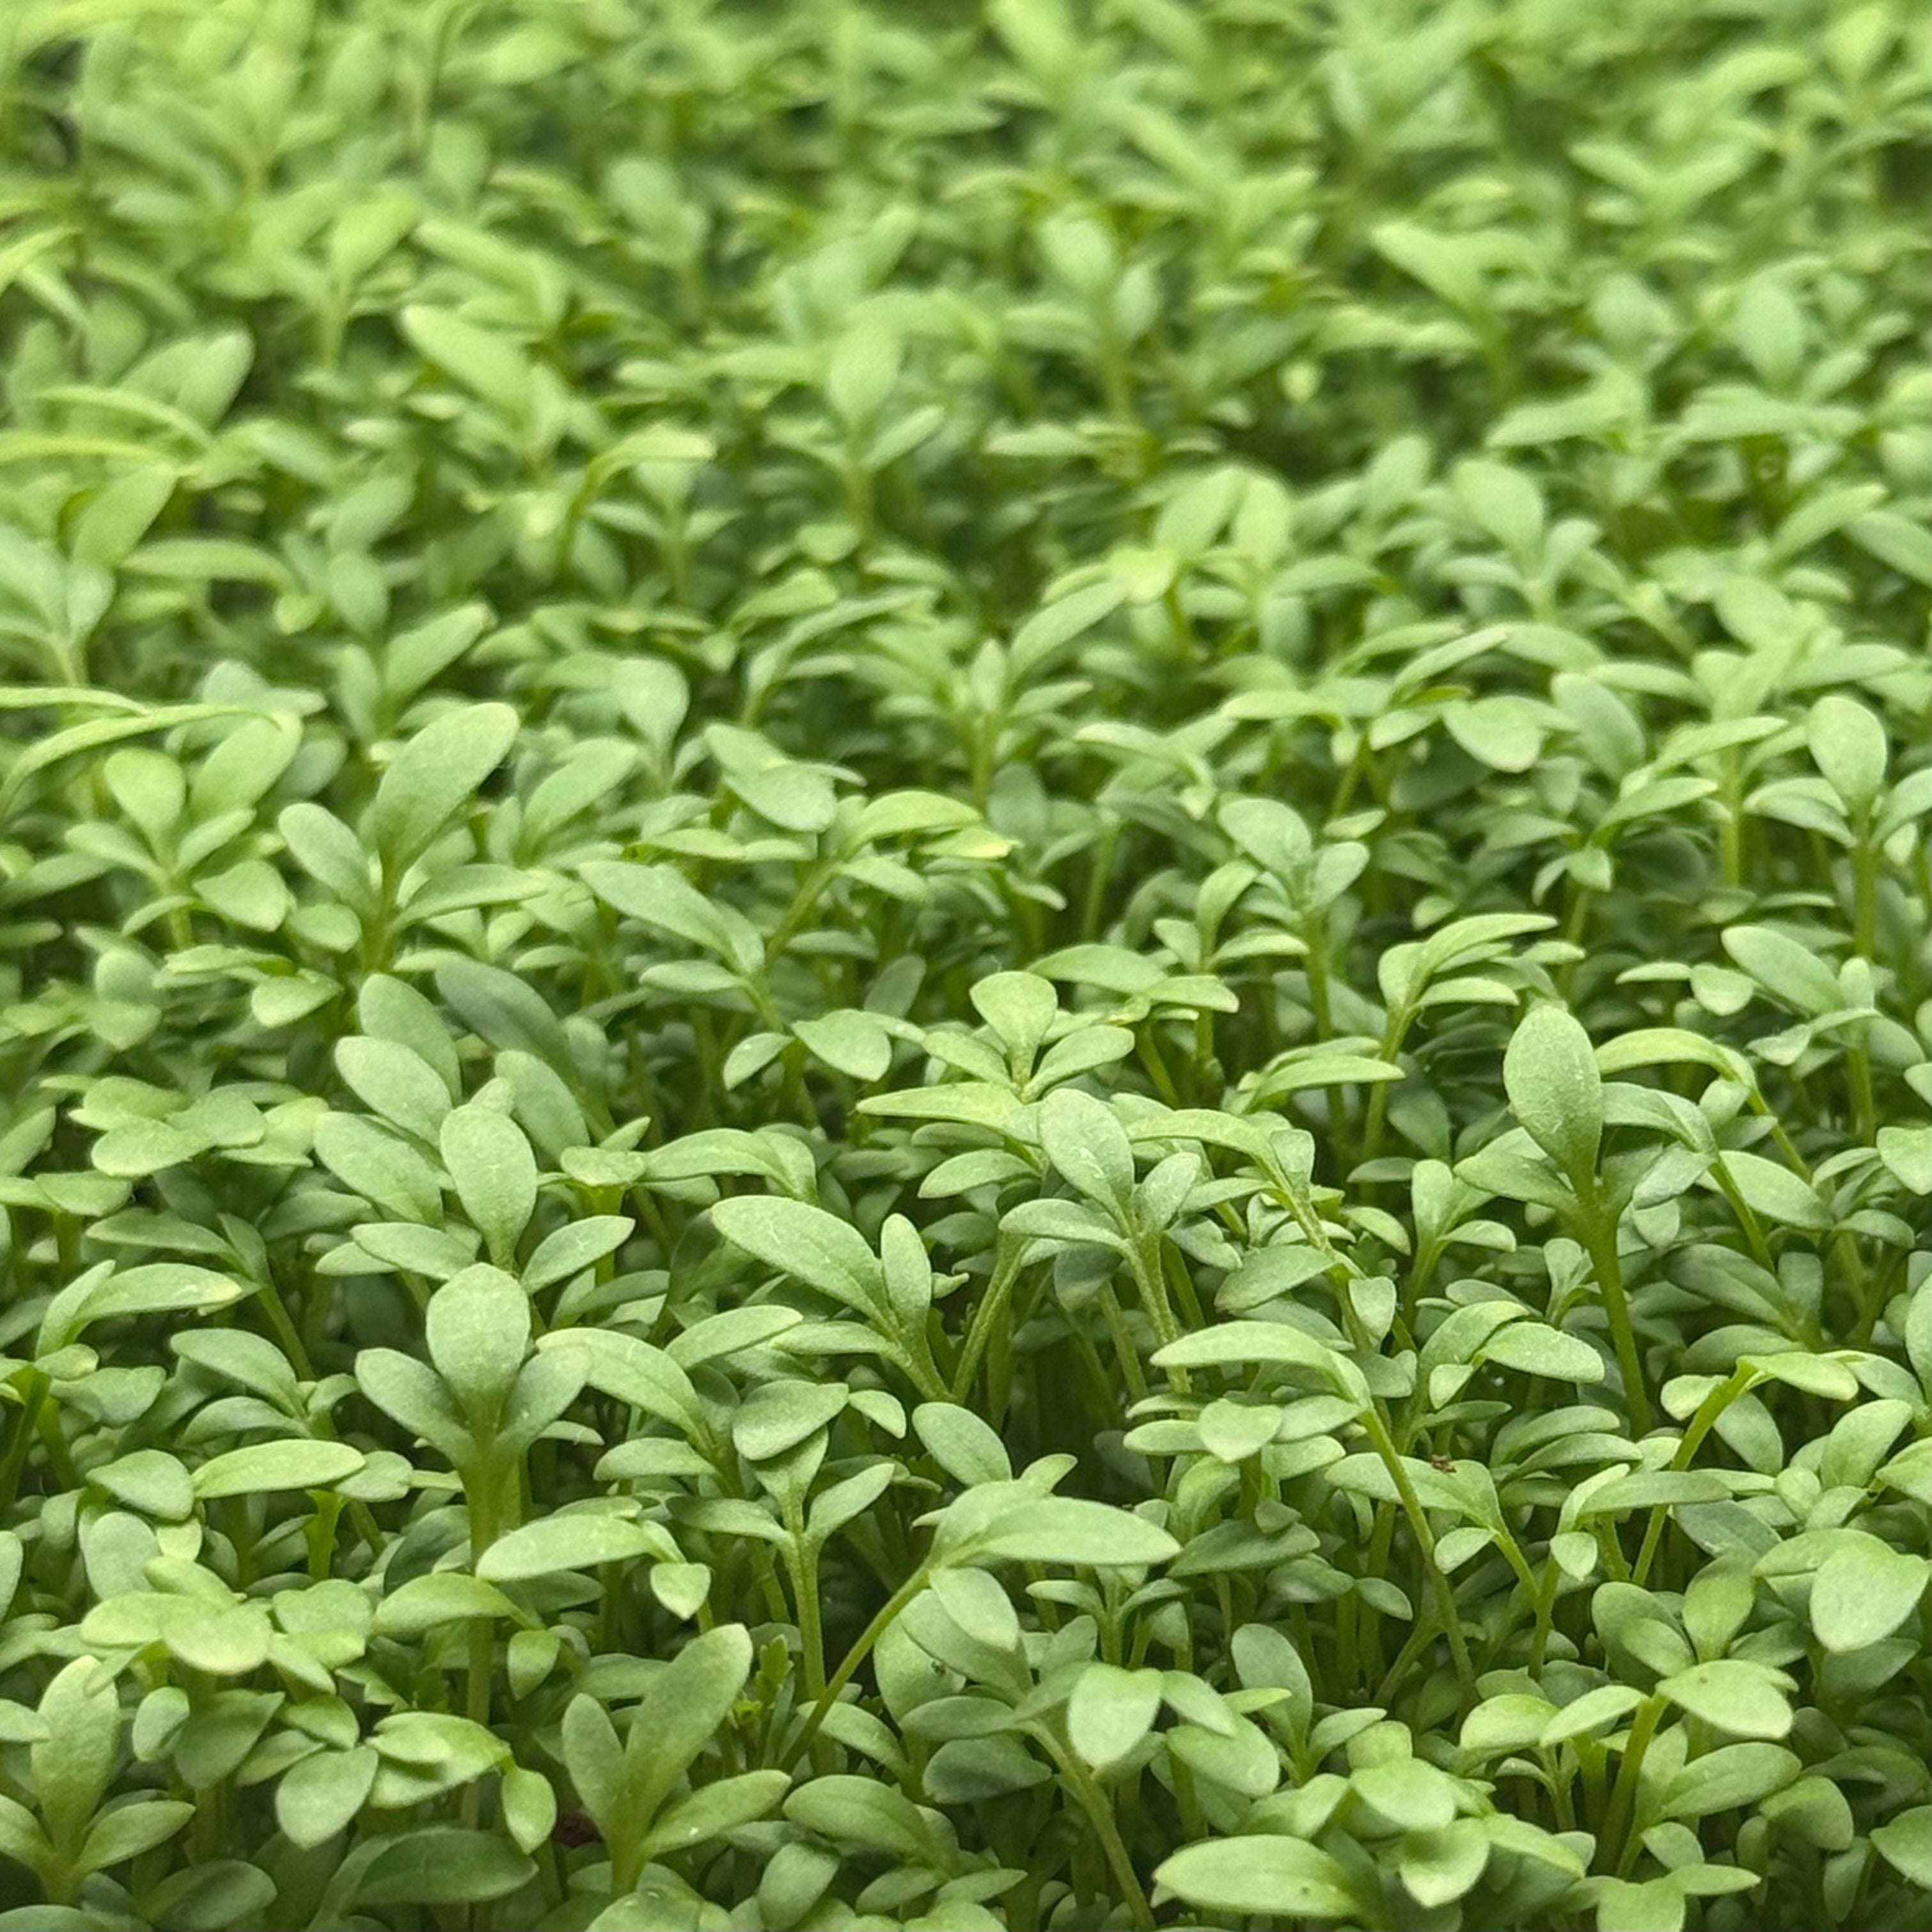
✨Punchy, peppery cress with a quick crop cycle - adds instant lift to eggs, fish and sandwiches.
- Regular price
-
13,00 zł - Regular price
-
- Sale price
-
13,00 zł
Couldn't load pickup availability
The fastest, peppiest green you can grow — cress goes from seed to scissors in under two weeks.
100% satisfaction guarantee
Your satisfaction is our top priority.
If something's not right, we’ll make it right — whether that means replacing your item or giving you a full refund. No fuss, no hassle.
SHIPPING INFORMATION
Shipping cost is based on weight and destination. Just add products to your cart and use the Shipping Calculator to see the shipping price.

Details
The fastest, peppiest green you can grow — cress goes from seed to scissors in under two weeks.
FULL SPECIFICATION TABLE
General Specification
| Common Name | Cress microgreens (Garden Cress, Curly Cress, Peppergrass) |
| Botanical Name | Lepidium sativum L. |
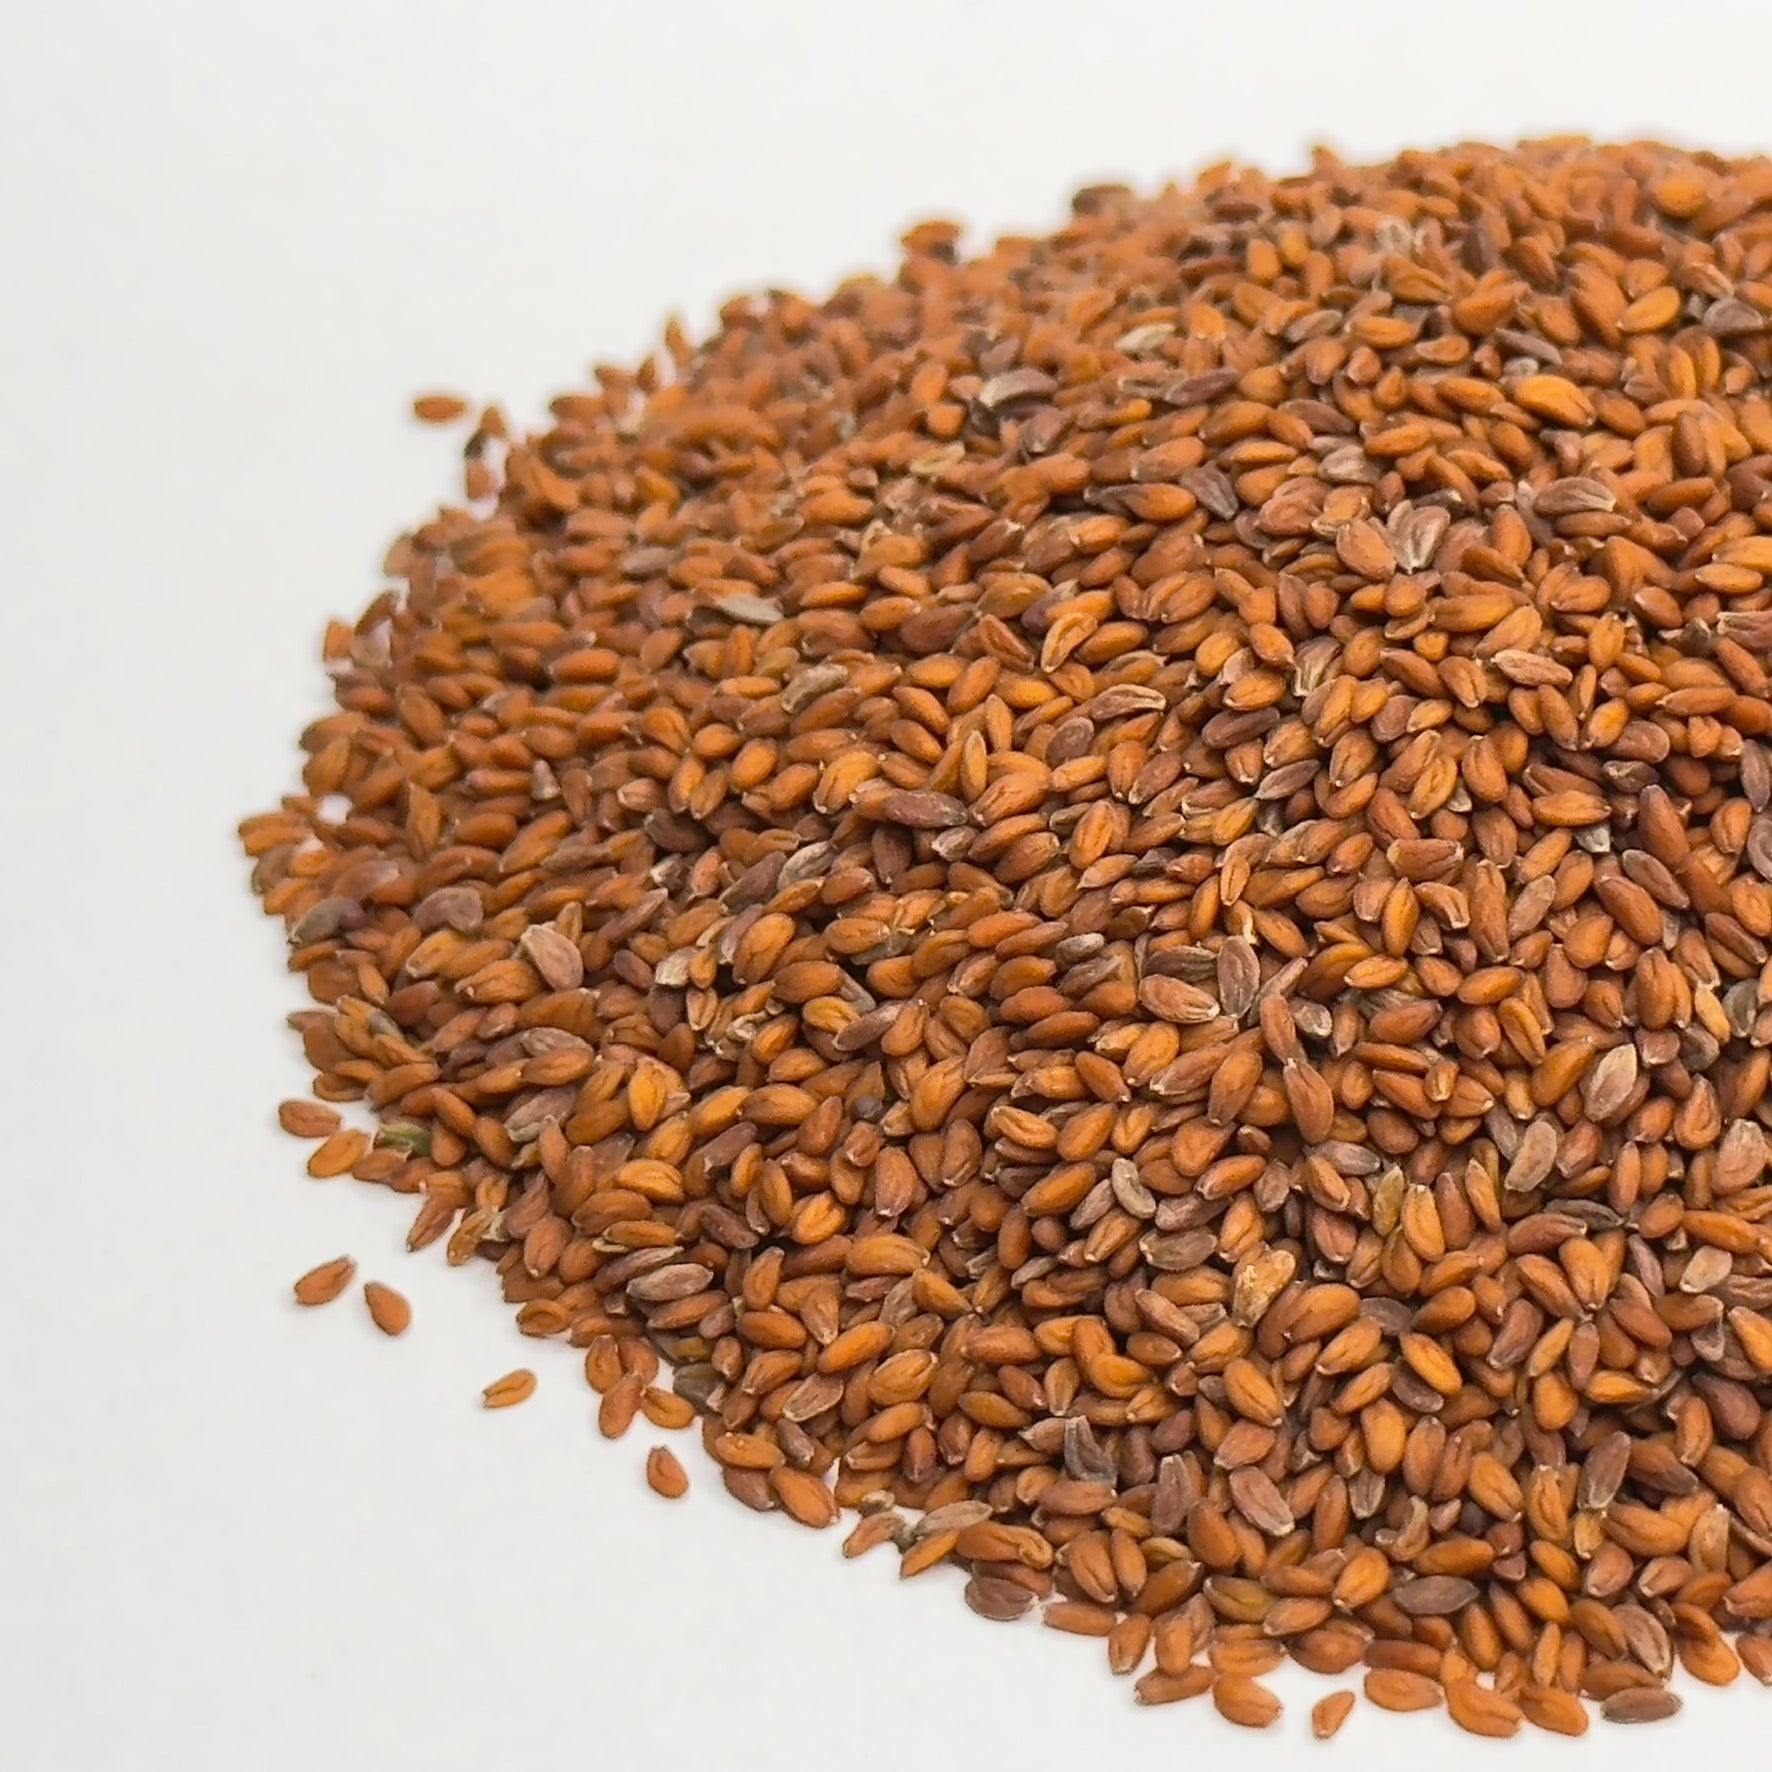
| Seed Type | Conventional, untreated, non-GMO |
| Stem/Leaf Color | Fine pale-green stems; bright green, round cotyledons forming a dense, uniform canopy |
| Flavor & Texture | Bold, building pepper heat with a fresh mustard-and-grass note; tender, succulent cotyledons with a satisfying snap |
| Seed Count per 10g | ≈4,500–5,500 seeds (≈450–550 seeds/g) |
Cultivation Data
| Difficulty | Easy (mucilaginous seed — no soaking required; gel coat self-anchors seeds) |
| Preferred Medium | Coco coir or fine potting soil; spread seeds thinly and evenly in a single layer |
| Seeding Density (1020 tray) | 10g per 1020 tray (25×50 cm) |
| Seeding Density (10x10 cm) | 0.80g per 10×10 cm |
| Expected Yield | ≈225–280g per 1020 tray (approx. 22×–28× seed weight) |
| Soaking | None — mucilaginous seeds must not be soaked; they form a gel coat on contact with moisture |
| Blackout Days | 3–5 days |
| Watering, pH & Temp | Bottom-water only after blackout; avoid top-spraying at all stages. pH 6.0–6.5. Temperature 18–22 °C with steady airflow to prevent damping-off. |
| Sprouting Time | 1–3 days (often visible within 24 hours) |
| Harvest Time | 8–12 days (cotyledon stage); up to 13 days for first true leaf |
Health & Nutrition
| Vitamins | Vitamin K (exceptionally high — ~516% DV per 100g raw), Vitamin C (~83% DV), Vitamin A as β-carotene (~43% DV) |
| Minerals | Calcium, potassium, iron, manganese (notably high), magnesium |
| Notable Compounds | Glucosinolates including benzyl isothiocyanate (BITC); polyphenols including gallic acid, protocatechuic acid, kaempferol glucuronide; flavonoids; mucilaginous polysaccharides |
| Health Benefits | Strong antioxidant and anti-inflammatory profile via glucosinolates and polyphenols; supports immune function; Vitamin K supports bone health and blood clotting; traditionally used to pre-clinical data suggests antidiabetic and antihypertensive potential |
ABOUT
Garden cress (Lepidium sativum) is one of the oldest cultivated greens in the world, grown for millennia from Persia to Britain, and it remains the fastest, most reliable crop in the microgreens world. The cotyledons emerge with a bright, clean green colour and a scent that hints at fresh mustard and cut grass — and the taste delivers exactly on that promise: a sharp, building pepper heat that lingers warmly on the palate. Scatter a handful over a soft-boiled egg, a tartare, or a cream-cheese blini and it adds both visual beauty and a flavour dimension that dried herbs simply cannot replicate. With seed in your tray today, you could be harvesting a full, fragrant canopy before the end of next week.
GROWING INSTRUCTIONS
Why Choose Deliseeds?
-
Untreated & Non-GMO, Conventional or Organic Safe, high-germination seeds. We also offer wide selection of certified organic seeds.
-
Fast EU Shipping
Orders dispatched within 24h. Delivery times 1-5 working days.
-
100% Satisfaction Guarantee
If you're not satisfied - you'll get a replacement or a refund.
-
Expert Support
We mean it! You get our personnal support to help you succeed.